1. Open Image
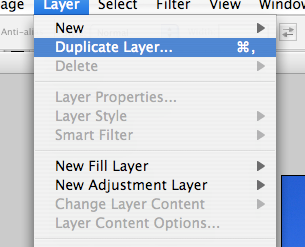
2. Duplicate layer (Layer->Duplicate Layer) [VERY IMPORTANT!!]
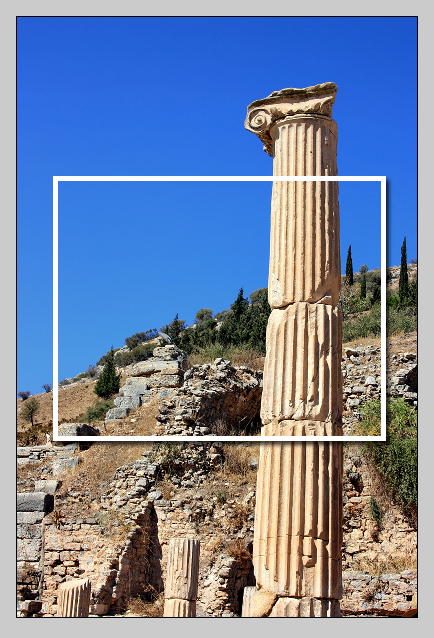
3. Using the Rectangular Marquee Tool [M], select the area for your "snapshot."

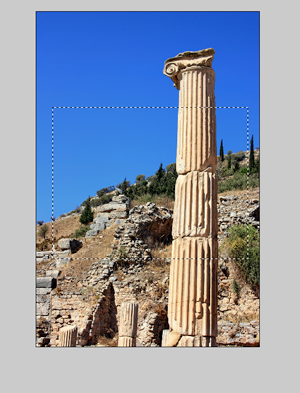
4. Copy [Ctrl+C], and Paste [Ctrl+V]. This will paste your selection onto a new layer.
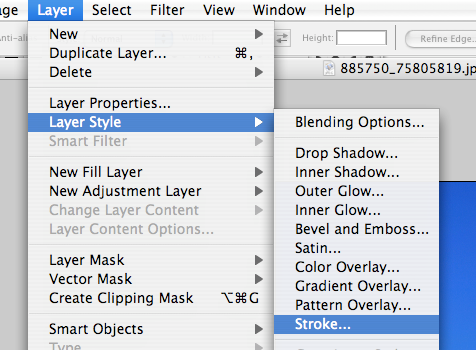
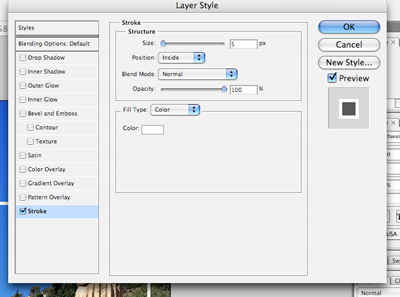
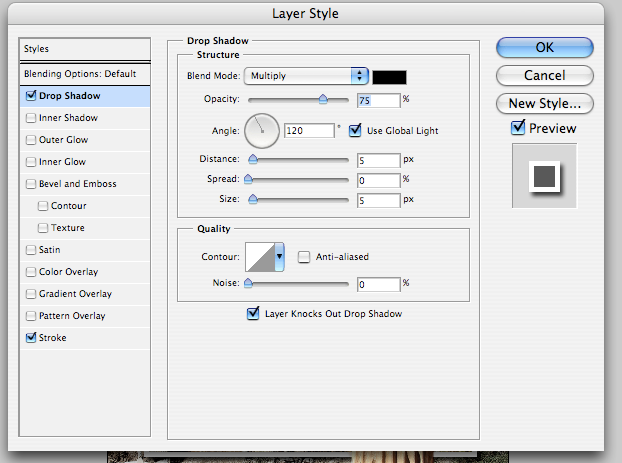
5. At this point, the picture should not look any different. (This is because you pasted the new layer in exactly the same position.) Go to Layer->Layer Style->Stroke. For size choose something like 5 for a thick border. For position select "Inside." (If you choose "Outside" your border will have rounded edges.) Select the color of your border on the bottom (white in your case). You can also select a drop shadow from the same window. (The option is on the left of the box).
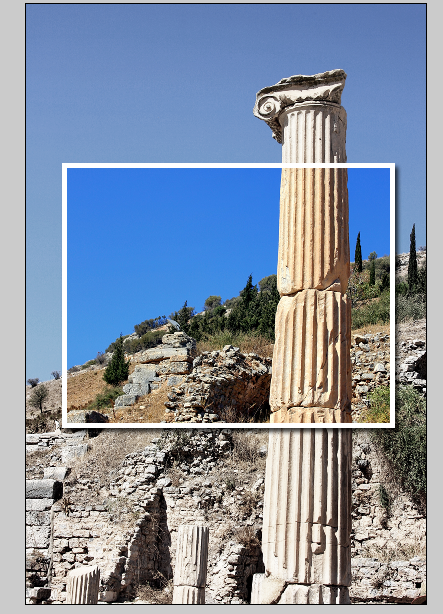
6. Go back to the previous layer and change your opacity, saturation, color, etc, until you have the look you're going for.
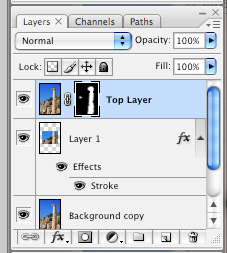
7. Duplicate your original image (the bottom layer) again. Drag this layer to the very top (so the snapshot you just made is covered.)
7. Alt+Click on the mask tool. (This is on the bottom of the layers box. It's the icon with the circle inside the square.) This will give you a black mask over that layer. It should look like the layer you just made disappeared. With the MASK highlighted in your layers box, use a round brush in white to paint over the column. This will "eliminate" the borders.
A FEW COMMENTS ON THIS STEP:
a.) On the mask, anything in white will show through, while anything in black will be "erased." The good thing about this, you're not actually altering the layer, so if you make a mistake (showing to much for instance), you can easily correct it (cover it up with more black).
b.) Be careful not to select the photo instead of the mask. In that case, yes you will alter the layer, not good!
Final Product:
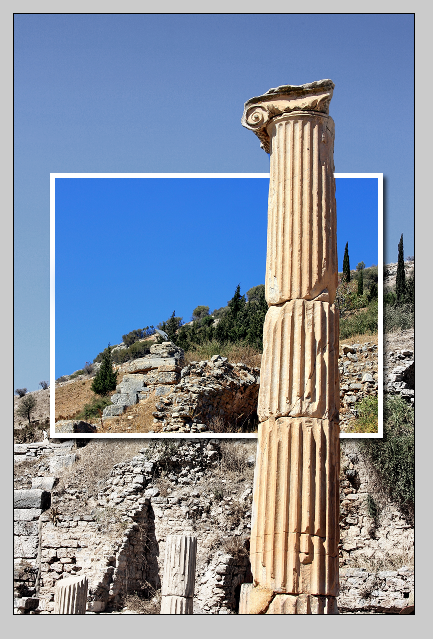
*photo courtesy of "vimark" on sxc.hu
No comments:
Post a Comment